Summary
In this article you will learn how to edit a Work Order on Infraspeak's web platform.
The Work Order Resolution flow should be considered as the following:
- Work Order Reported - An issue is found and should be reported
- Approval and Assignment - After reported, the Work Order should be approved and assigned to the responsible users
- Start Resolution - The Work Order is approved and assigned, now it’s time to focus on the issue’s resolution
- Add Information - Information may be added such as photos, messages, extra costs and others
- Pause/Resume - Along the flow, the Work Order may be paused due to several reasons and resumed as soon as the pause reason is overcome
- Resolution End - The Work Order is closed after the issue is resolved
- Validate and Confirm - Once the issue is resolved and the Work Order is closed, a new layer of supervision may be added by validating and confirm the Work Order is effectively solved.
Step by Step
1. Log into Infraspeak's Web platform.
2. Once logged in, go to the Work Orders tab and select the one you wish to edit.

3. Double click the work order and a new window will pop up. In this window you will notice there are several elements with a pencil icon next to them, indicating the possibility of editing - such as the work order area and type, priority, client and location.

4. By clicking on those pencil icons, you will be able to edit the information needed.

Note: when editing certain elements, prompts will be generated asking you to perform actions. E.g.:
When you edit the work order area/type, you may be asked how you wish to proceed with the work order's assignees.
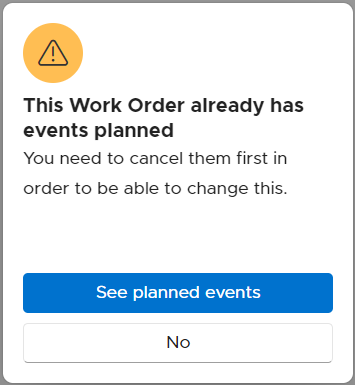
 When you edit the work order's location or client, if there are scheduled events you will need to cancel them to be able to make the changes.
When you edit the work order's location or client, if there are scheduled events you will need to cancel them to be able to make the changes.