Summary
In this article you will learn how to create a Planned Job with a Gatekeeper Checklist associated, ensuring your technicians assess a set of conditions before starting a planned job.
The process of creating a planned job with a checklist is the same when creating a planned job. The only difference is that, once you have the Gatekeeper app installed, a new tab will appear. To know more read the step-by-step below.
Step by Step
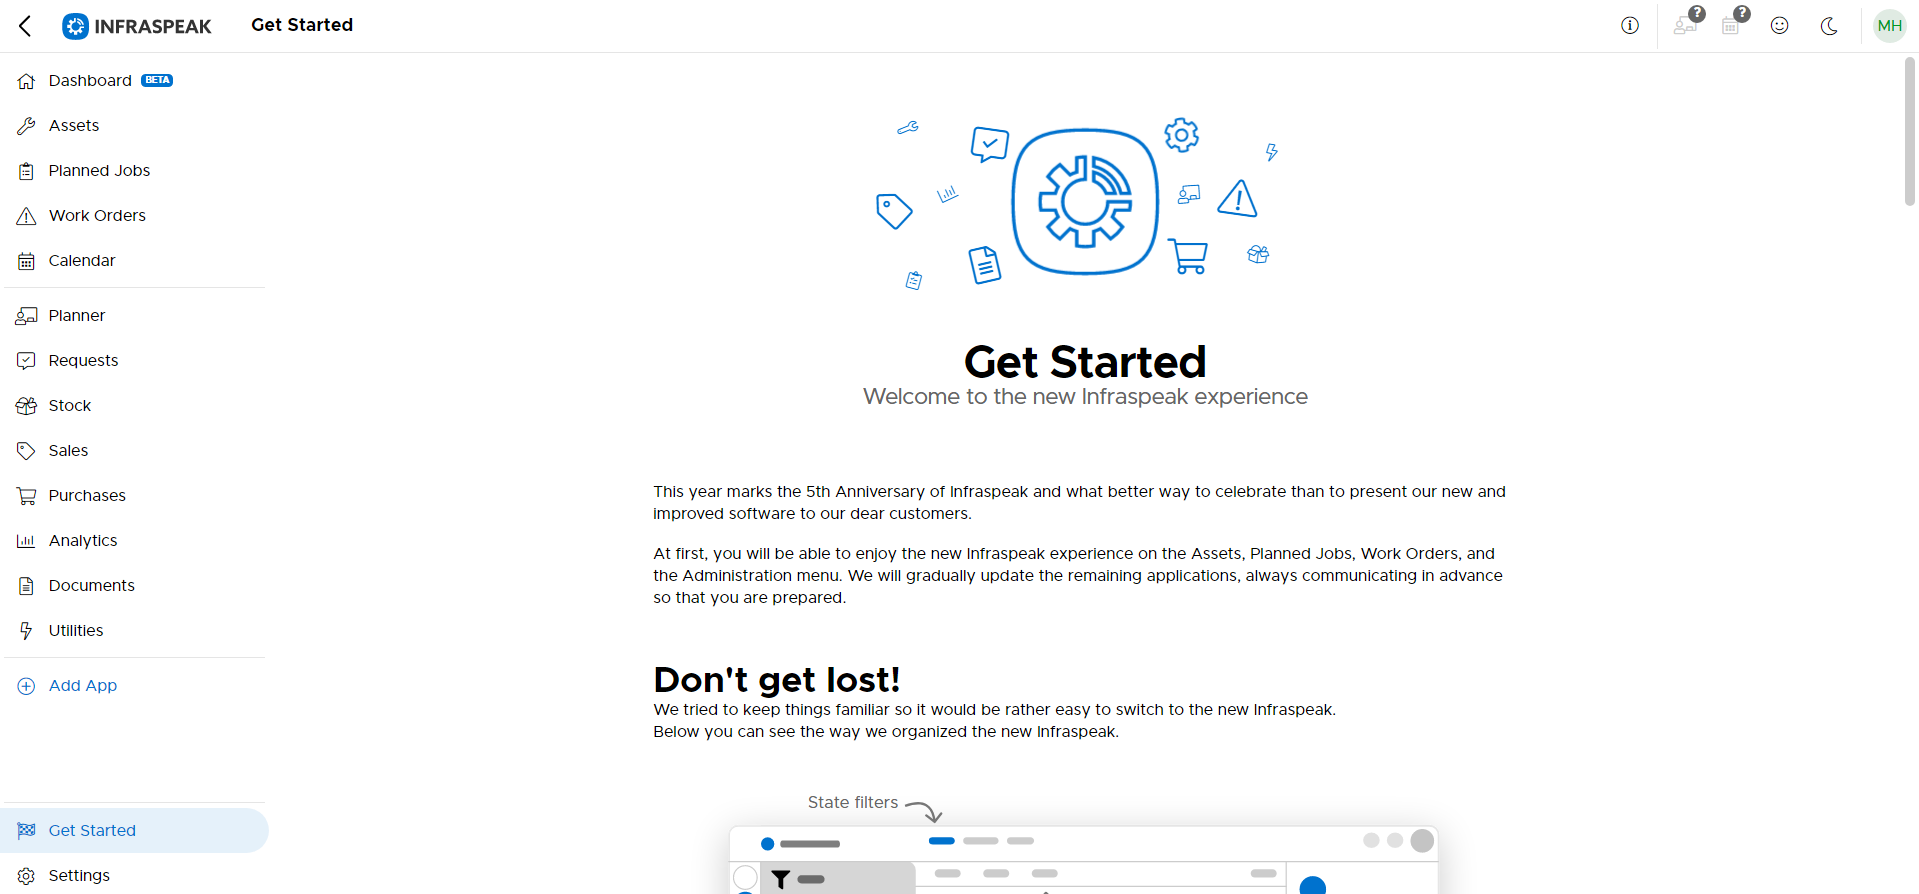
1. Login to the Infraspeak web platform.
2. Once logged in, on the menu located on your left-hand side, select Planned Jobs.
3. In Planned Jobs, select the top left corner option +Create Job.

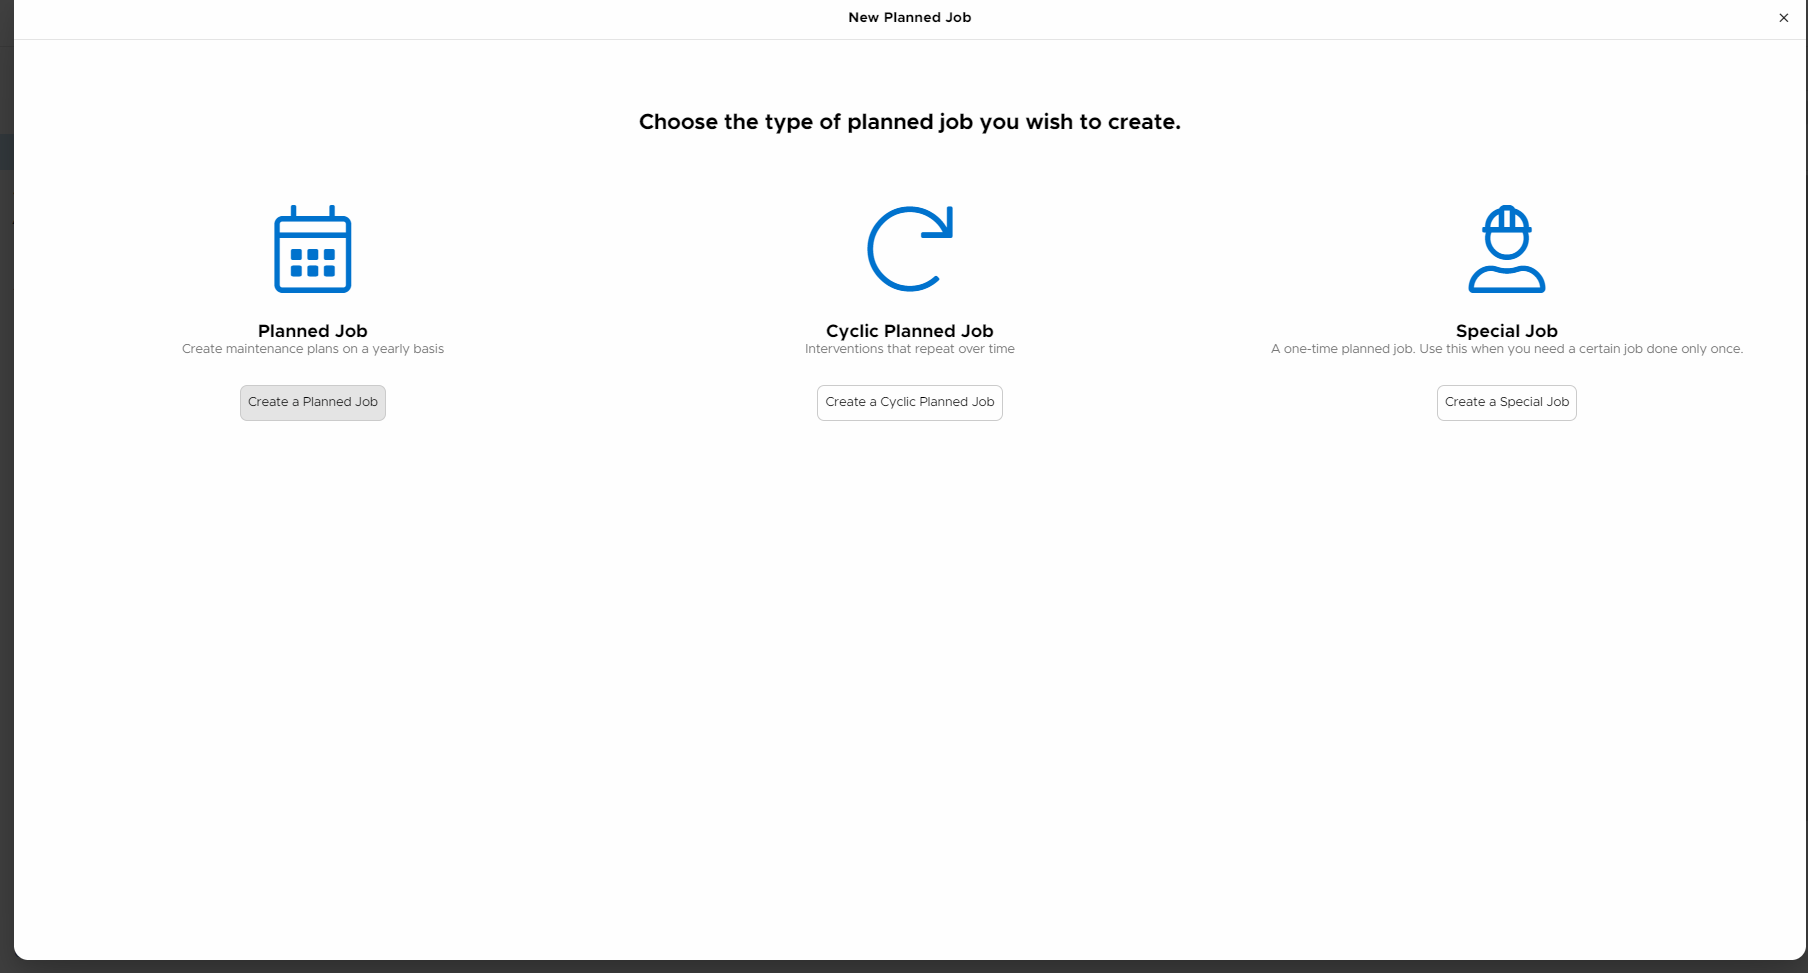
4. A new window will open. Now, select the Planned Job type.
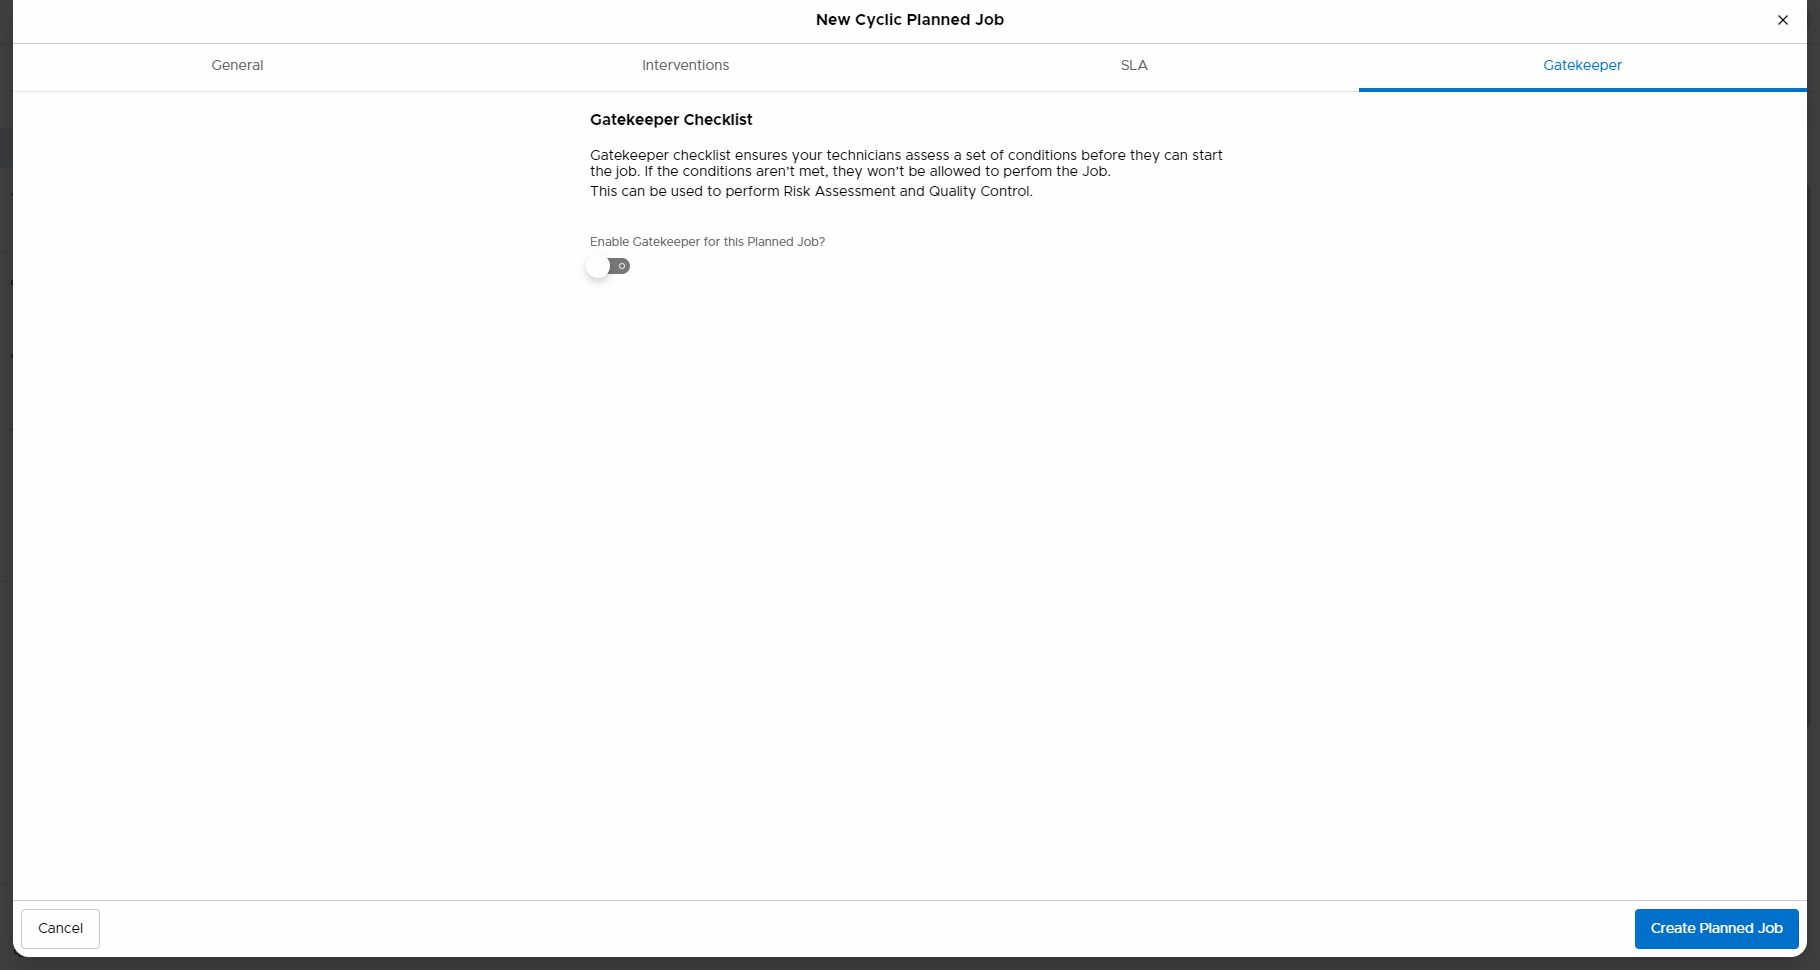
5. Then, once the type is chosen, provide the information needed to create the job and once added, go to the Gatekeeper tab.

6. In the Gatekeeper tab, you will need to enable Gatekeeper for this Planned Job.
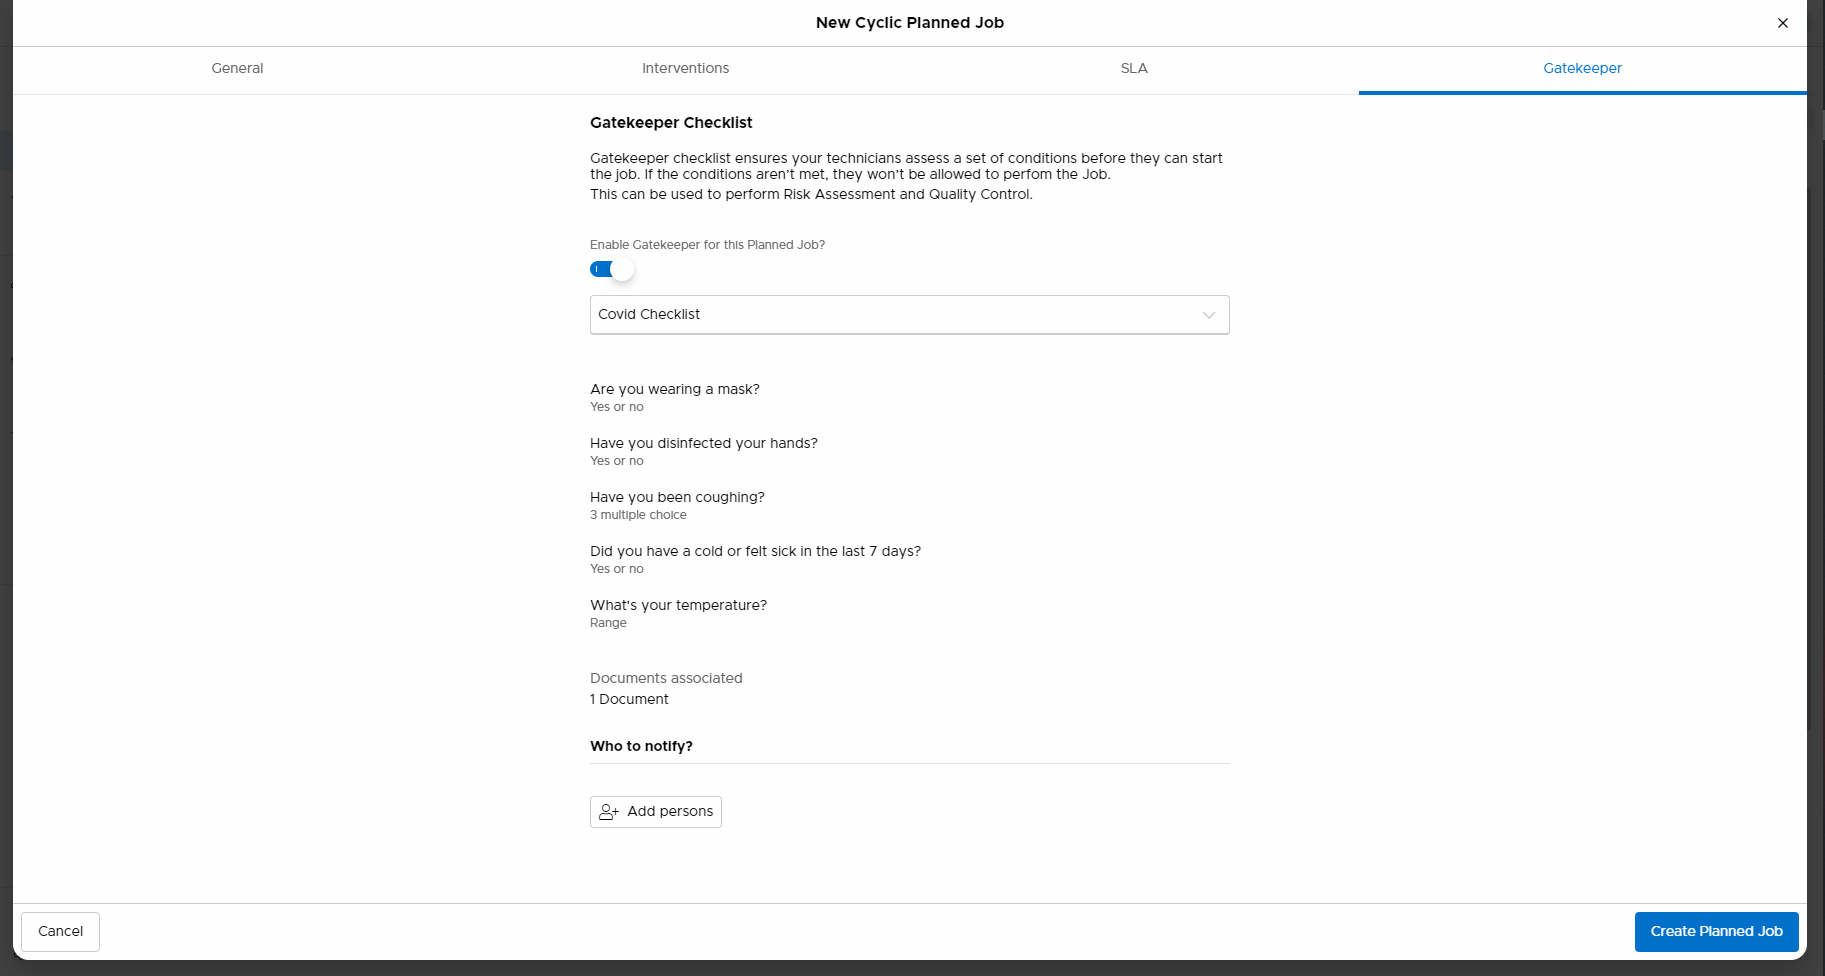
7. Once enabled, you will be able to select among the checklists created in your environment.

8. Having the checklist selected, you will be able to acknowledge the questions which constitute the checklist. Also, you will be able to select which users to notify - a user can be notified whenever the checklist is not successfully filled.